Getting Started
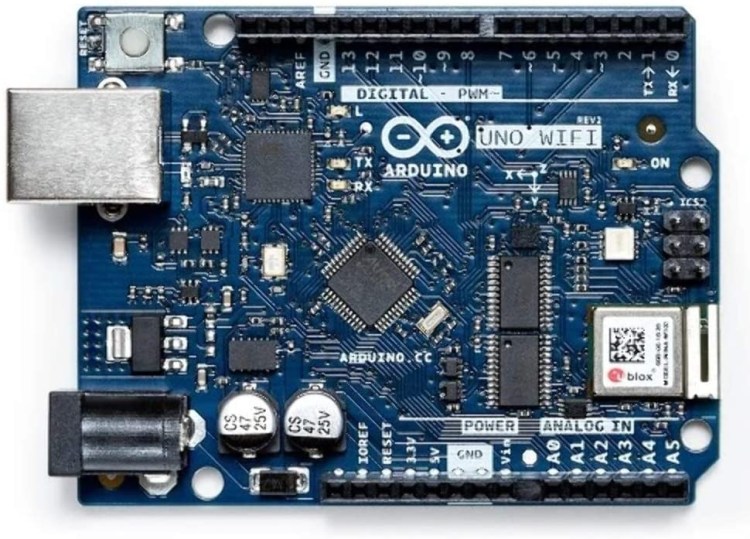
In order to send data to ThingSpeak™ using an Arduino®, you need an Arduino with network connectivity either onboard or with a shield. ThingSpeak has an official library that requires Arduino 1.6.x or above running on Windows®, MAC OS X®, or Linux®. This library needs to be installed and used by the Arduino device in order to send data to ThingSpeak using one of the examples.
Setup ThingSpeak
ThingSpeak requires a user account and a channel. A channel is where you send data and where ThingSpeak stores data. Each channel has up to 8 data fields, location fields, and a status field. You can send data every 15 seconds to ThingSpeak, but most applications work well every minute.
- Sign up for a new User Account – https://thingspeak.com
- Create a new Channel by selecting Channels, My Channels, and then New Channel
- Note the Write API Key and Channel ID
Full REST Interface API information for ThingSpeak is available in the documentation.
Install ThingSpeak Communication Library for Arduino
In the Arduino IDE, choose Sketch/Include Library/Manage Libraries. Click the ThingSpeak Library from the list, and click the Install button.
Setup Arduino Sketch
We have provided a few Arduino sketch examples with the ThingSpeak library. They are designed to work right away with no changes. To make the examples work with your ThingSpeak channel, you will need to configure the myChannelNumber and myWriteAPIKey variables.
unsigned long myChannelNumber = 31461;
const char * myWriteAPIKey = "LD79EOAAWRVYF04Y";
Send an Analog Voltage to ThingSpeak
The WriteSingleField Arduino sketch example reads an analog voltage from pin 0, and writes it to a channel on ThingSpeak every 20 seconds. Load the example in the Arduino IDE. Make sure to select the correct Arduino board and COM port. Then, upload the code to your Arduino.
Sending Multiple Values to ThingSpeak
Since ThingSpeak supports up to 8 data fields, you might want to send more than one value to ThingSpeak. To send multiple values to ThingSpeak from an Arduino, you use ThingSpeak.setField(#,value) for each value to send and then use ThingSpeak.writeFields(myChannelNumber, myWriteAPIKey) to send everything to ThingSpeak. Use the WriteMultipleFields Arduino sketch example to send multiple pin voltages to ThingSpeak.
Examples
The library includes several examples organized by board type to help you get started. These are accessible in the Examples > ThingSpeak menu of the Arduino IDE.
- ReadField: Reading from a public channel and a private channel on ThingSpeak.
- WriteSingleField: Writing a value to a single field on ThingSpeak.
- WriteMultipleFields: Writing values to multiple fields and status in one transaction with ThingSpeak.
Complete source code and examples for the ThingSpeak Library are available on GitHub.
MATLAB Visualization
Now that your data is on ThingSpeak you can see this data on ThingSpeak using the MATLAB Visualizations app. On ThingSpeak, select Apps and then MATLAB Visualizations. Click “New”, select “Custom (no starter code), and click “Create”.
Enter the following MATLAB code and click Run and Save:
readChannelID = 93156;
fieldID1 = 1;
readAPIKey = 'MCI6XM81ZFOY8UCE';
%% Read Data %%
[data, time] = thingSpeakRead(readChannelID, 'Field', fieldID1, 'NumPoints', 10, 'ReadKey', readAPIKey);
%% Visualize Data %%
plot(time, data);

Support
If you need support for the ThingSpeak Arduino Library, use the ThingSpeak Community on MATLAB Central or join us on the Quandary Discord Server.
Additional Resources
Update: March 2022
ThingSpeak now supports MQTT as a way to send data to ThingSpeak. MQTT is a publish/subscribe communication protocol that uses TCP/IP sockets or WebSockets. MQTT over WebSockets can be secured with SSL. A client device connects to the MQTT broker and can publish to a channel or subscribe to updates from that channel.


